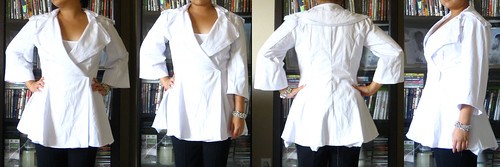
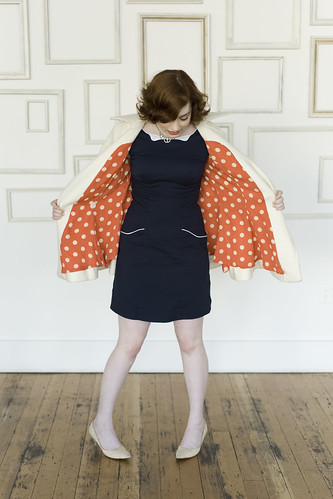
Tailoring Part I - The Front

I'm a little behind in the
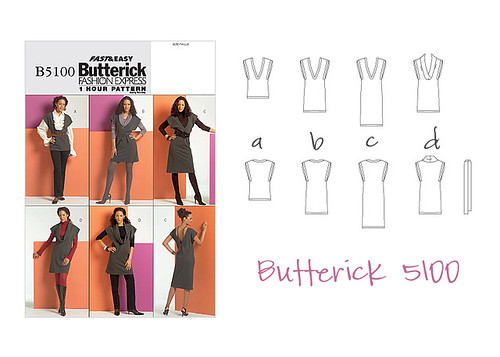
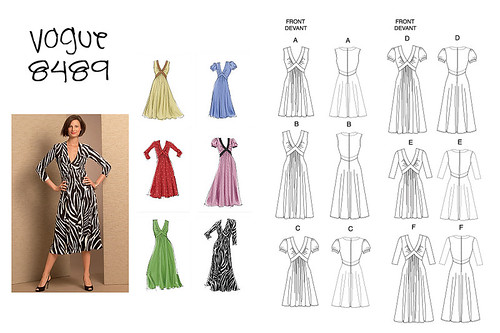
Lady Grey Sew-Along... especially since it's now over. :) Gertie is truly amazing and has done some wonderful posts for this sew-along!! I think for the first couple of weeks of October I just stared at her posts because they were so wonderful (and a little overwhelming). After all this staring and watching her post one tutorial after another, I finally decided to give it a go.
{Warning: this is a long picture filled post!}
Basting the side fronts:
Here's
Gertie's first tailoring post. I did things slighty out of order from her posts, too.
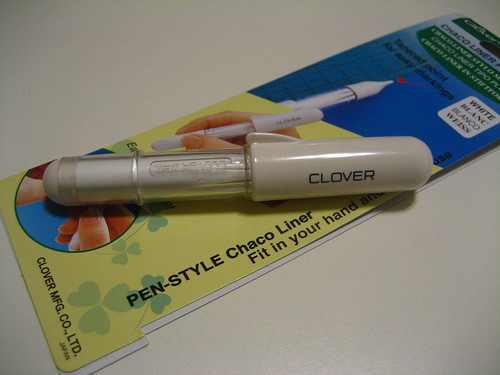
Supplies: silk thread, needle, and beeswax
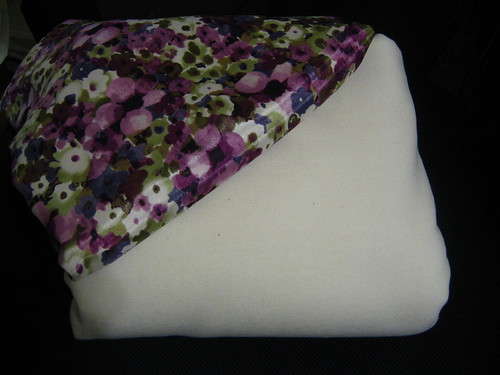
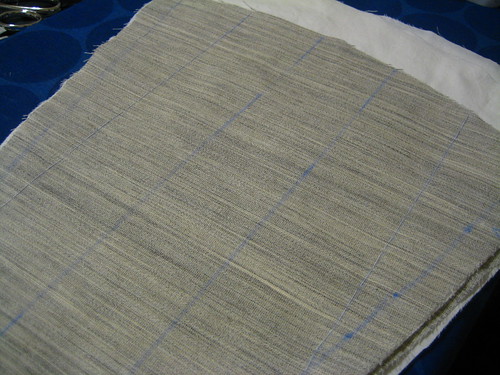
I did practice my basting stitches using unwaxed silk thread, waxed silk thread, and pressed waxed silk thread. The winter white wool is a little too light so, I'm underlining it with a bamboo/rayon muslin. This makes my side front piece three layers; wool, underlining, and hair canvas. I was afraid that the three layers would make it difficult, but it didn't at all.
The knotted thread is the plain silk thread. I did notice a huge difference between the unwaxed and waxed silk thread. However, I didn't notice a difference between the pressed and unpressed thread. So, I proceed without pressing. If you would to see a tutorial on pressing waxed there, Casey has a wonderful one
here.
My progress... only a couple of lines done here...
 Bound Buttonholes
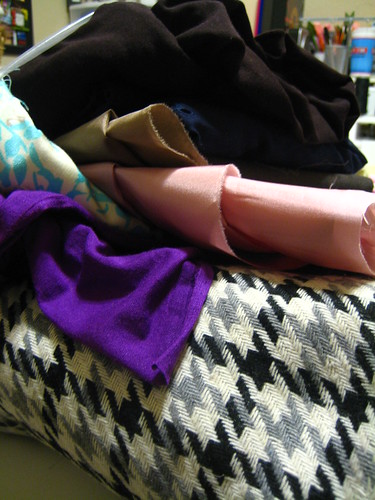
Supplies
Bound Buttonholes
Supplies: silk organza, interfacing
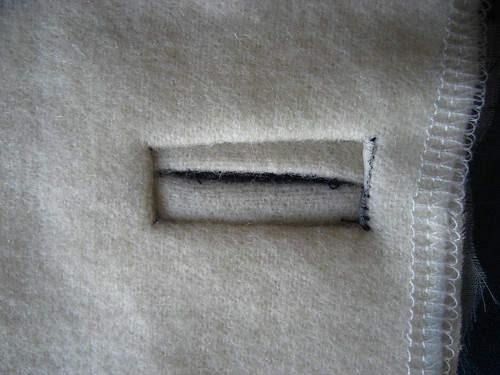
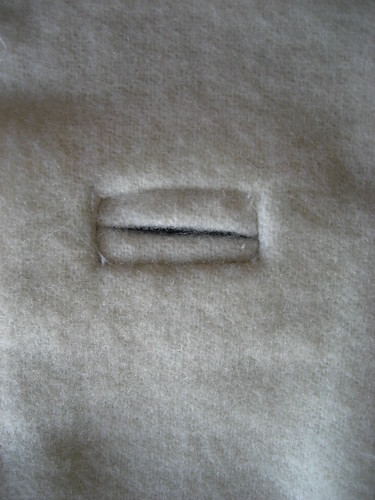
Notes: This was my first time trying this type of buttonhole. I did add interfacing to the "lips" to give it more structure & support. I didn't baste the lips, which made it slightly shift on one of the final ones, but other than that it's not too bad. It looks like they got better with each try.
Test buttonhole: the ugly
First buttonhole: a little crooked
Second buttonhole: just right
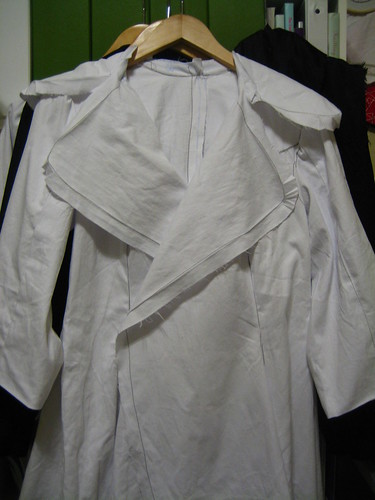
Tailoring the Front
Gertie's post I
Gertie's post II
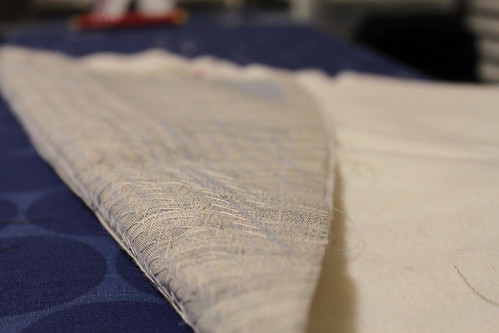
Catchstitching
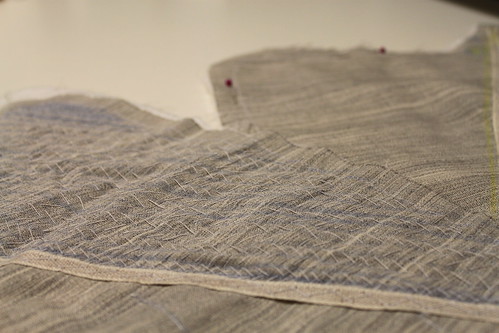
More basting and the roll line:
Supplies: linen tape
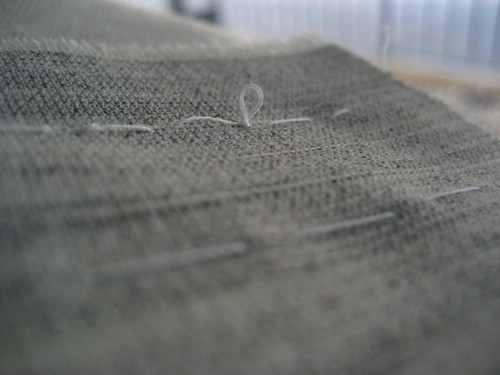
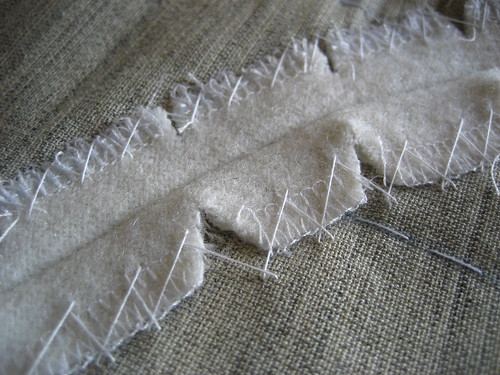
 Padstitching
:
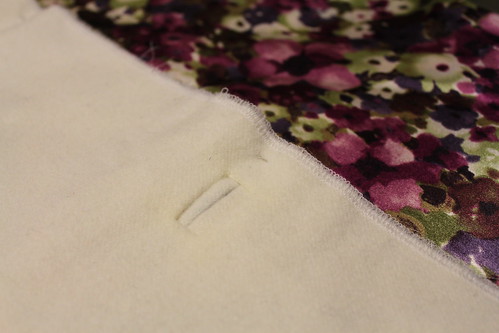
I know it's difficult to see, but here are my padstitches. I had a hard time trying to figure out how to sew perpendicular to the line and still get a diagonal stitch... I guess I couldn't figure it out in my head until actually just did it.
I didn't pin the lapel down as I rolled and padstitched, which made the hair canvas shift a lot. I'm not sure how this will affect the lapel in the finished product but I don't feel like unpicking and redoing it especially when I have another one to do. :P

Overall, I'm super excited about all the new techniques I've learned and learning. I've done most of my handstitching on my daily commute to work on the bus and have grown quite fond of handstitching in general. I'm not sure when I'll be done with my coat but up next is the back side seams, pockets, and sleeves.