Thursday, November 11, 2010

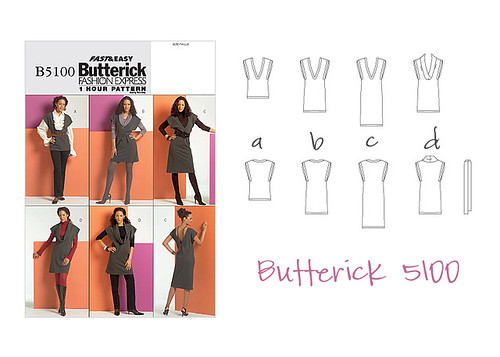
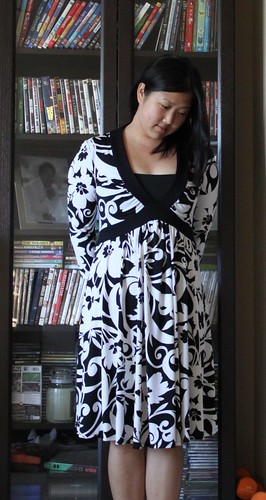
Finished: Butterick 5100 Top

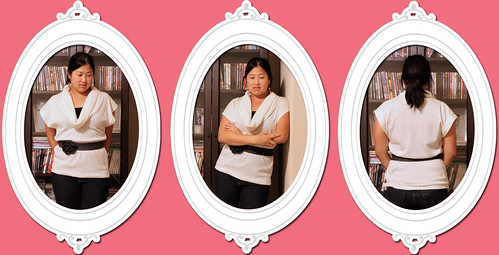
Two years in the making for such a simple top... I think I began this top in October of 2008. I drafted the review on PR back in March of 2009 leaving only the hemming undone.  Well, I finally finished it a couple of nights ago... phew!

Pattern: Butterick 5100 with view A length and view D cowl (I'm not surprised it's out of print!)
Fabric: Ivory sweater knit from fabric.com back in 2008 for a total of $6.37
Notions: thread
Total Cost: $7.36 ($0.99 pattern + $6.37 fabric)

b5100.jpg

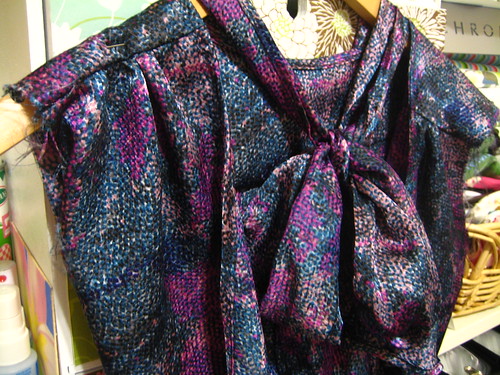
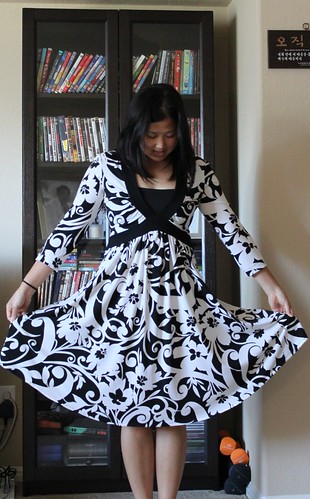
I don't know why this was just hung in my closet for so long when all I had to do was finish the sleeve hem and the bottom hem. This pattern is SUPER easy... but hemming is my least favorite part of sewing. I don't remember what the instructions were but I don't like the way I finished sleeves. The way that they are cut also makes it hang off my shoulders funny, but don't mind too much. Doesn't it looks like I have wings?

b5100.jpg

There's an Anthropologie across from work, and I stopped by the other day and bought the belt in the picture along with a headband.

IMG_0207.JPG

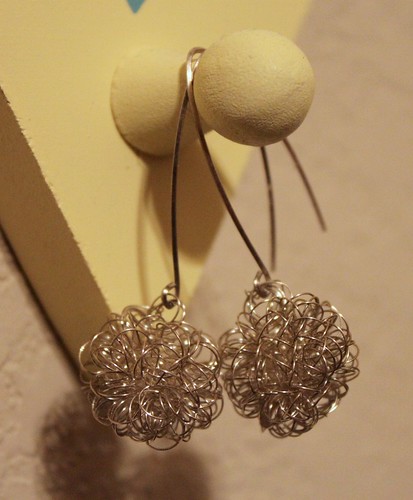
These are the earrings that I wore... they're from the streets of SOHO when I was in New York. They're handmade and I love them!

Here's a sneak peak at something else I'm working on. Our wedding anniversary is this Friday, and we're celebrating on Monday so that gives me an extra few days to finish it. :D

IMG_2450.JPG

Friday, November 5, 2010

FO: Padded Pouch

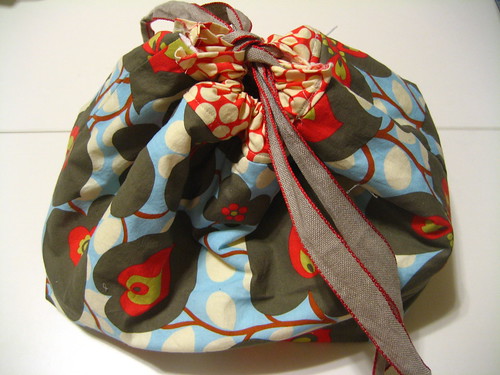
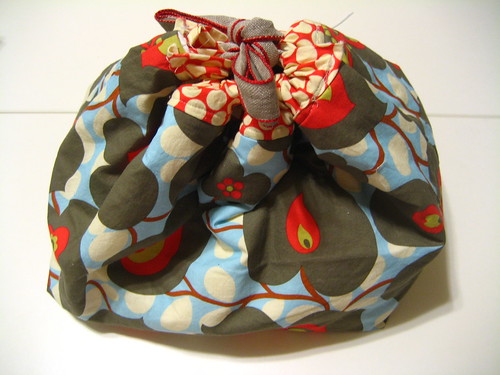
Over the past weekend, I worked on a padded pouch... which was just pieced together with leftover fabric from this bag.

IMG_2537.JPG

Pattern: none... just went with the flow
Fabric: Amy Butler remnants for the exterior, white sueded fabric for the interiof
Notions: poly/cotton batting, ribbon

I wanted the pouch to be medium size with pretty much a square bottom, and ended up with a pouch much bigger than what I originally wanted but it'll do for now.

IMG_2535.JPG

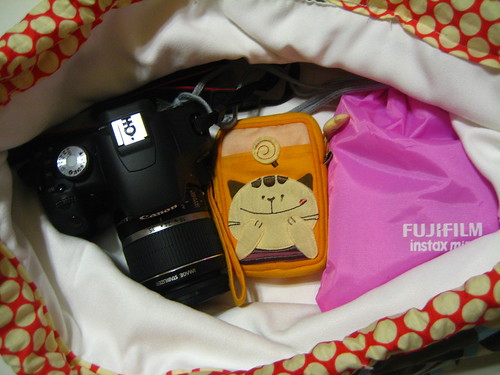
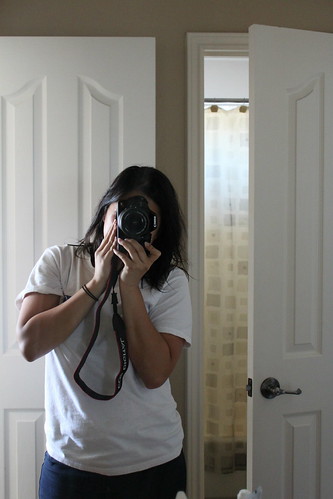
Can you see why I wanted a padded pouch right away? I told myself I couldn't use it until I had a "case" to protect it.

Now it has room to fit my point and shoot, Fuji Instax, and my new camera! I was in such a rush and had a difficult time sewing through all the layers that I didn't care if my stitches were wonky and all over the place.

I created 2 "handles: by stringing  a piece of ribbon through each side. I did this so I could carry on my shoulder if need be. For next time, I'd make it smaller, add an interior patch pocket and add interfacing. (I totally forgot the interfacing and then was too lazy to go back and add it... I really wanted to finish!)

IMG_2536.JPG

Here are some of my first photos:
IMG_0002.JPG IMG_0004.JPG IMG_0005.JPG IMG_0010.JPG

My dress:
IMG_0036.JPGIMG_0035.JPGIMG_0030.JPG

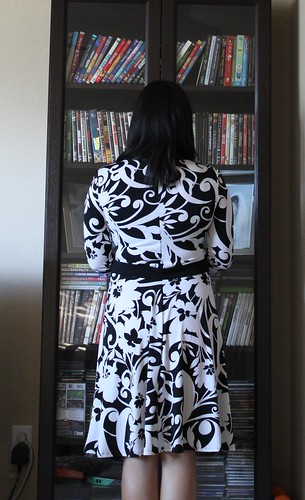
The back view is not very flattering... I think the angle of the camera's weird... I promiss my hem isn't that uneven. :P  Have a beautiful day!!

Wednesday, November 3, 2010

WIP: Lady Grey Tailoring Part I

Tailoring Part I - The Front


sew-along_banner2_150x150

I'm a little behind in the Lady Grey Sew-Along... especially since it's now over. :) Gertie is truly amazing and has done some wonderful posts for this sew-along!! I think for the first couple of weeks of October I just stared at her posts because they were so wonderful (and a little overwhelming). After all this staring and watching her post one tutorial after another, I finally decided to give it a go.

{Warning: this is a long picture filled post!}

Basting the side fronts:
Here's Gertie's first tailoring post. I did things slighty out of order from her posts, too.

Supplies: silk thread, needle, and beeswax

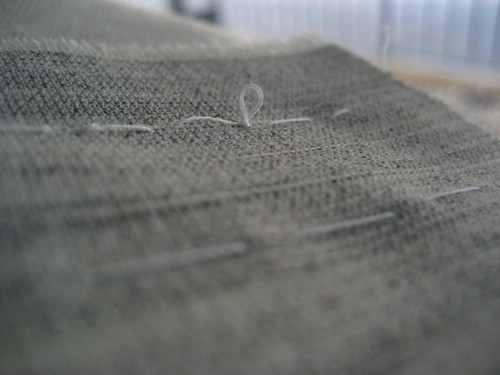
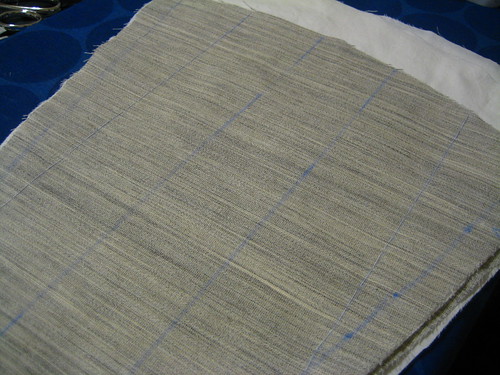
I did practice my basting stitches using unwaxed silk thread, waxed silk thread, and pressed waxed silk thread. The winter white wool is a little too light so, I'm underlining it with a bamboo/rayon muslin. This makes my side front piece three layers; wool, underlining, and hair canvas. I was afraid that the three layers would make it difficult, but it didn't at all.
IMG_2459.JPG

The knotted thread is the plain silk thread. I did notice a huge difference between the unwaxed and waxed silk thread. However, I didn't notice a difference between the pressed and unpressed thread. So, I proceed without pressing. If you would to see a tutorial on pressing waxed there, Casey has a wonderful one here.

My progress... only a couple of lines done here...
IMG_2525.JPG

Bound Buttonholes

Supplies: silk organza, interfacing
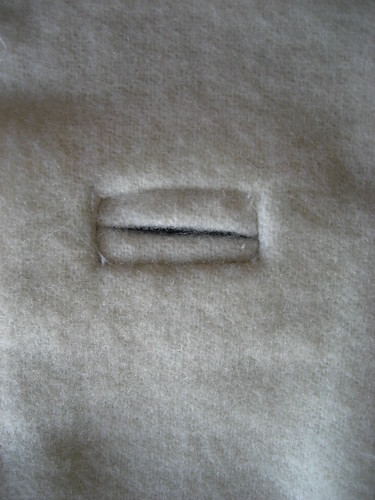
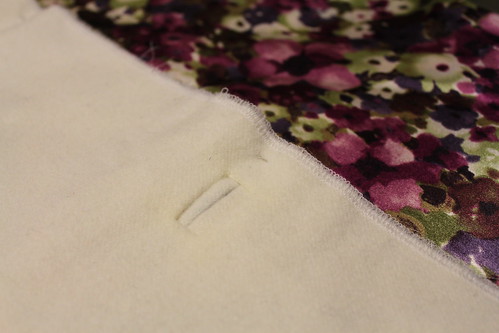
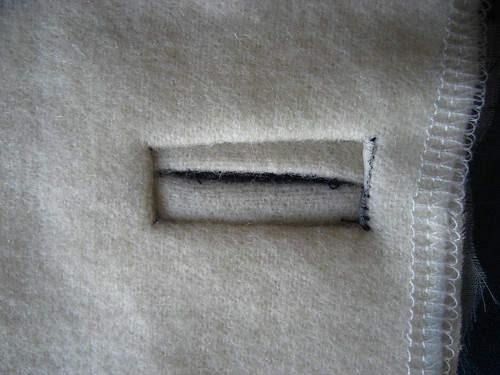
Notes: This was my first time trying this type of buttonhole. I did add interfacing to the "lips" to give it more structure & support. I didn't baste the lips, which made it slightly shift on one of the final ones, but other than that it's not too bad. It looks like they got better with each try.

Test buttonhole: the ugly
IMG_2531.JPG

First buttonhole: a little crooked
IMG_2529.JPG

Second buttonhole: just right
IMG_0174.JPG


Tailoring the Front
Gertie's post I
Gertie's post II

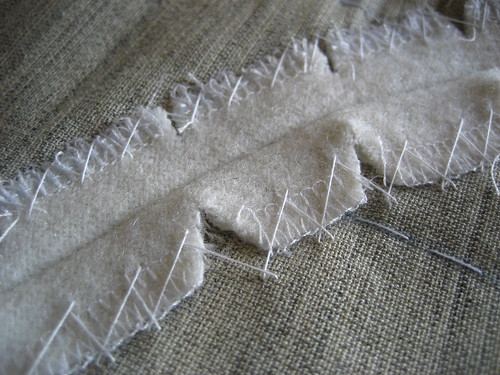
Catchstitching

IMG_2527.JPG


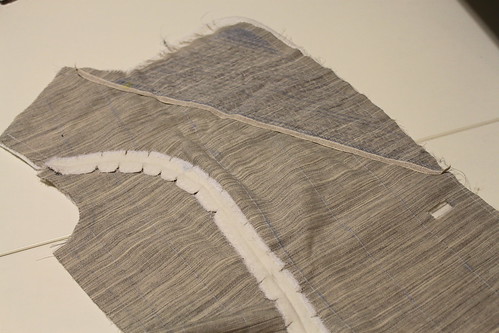
More basting and the roll line:
Supplies: linen tape
IMG_0180.JPG

Padstitching:
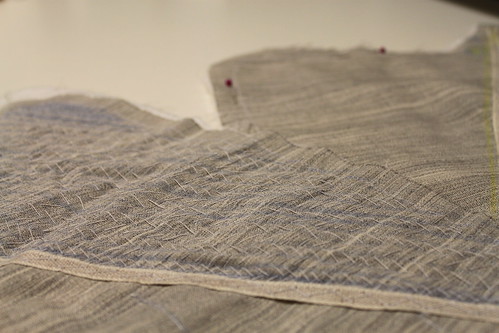
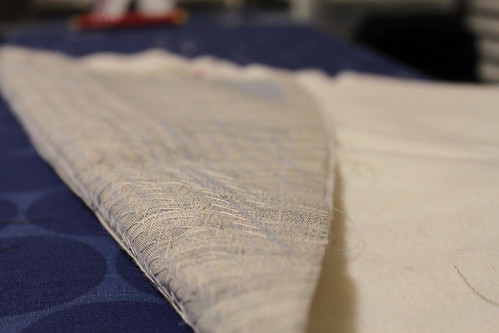
I know it's difficult to see, but here are my padstitches. I had a hard time trying to figure out how to sew perpendicular to the line and still get a diagonal stitch... I guess I couldn't figure it out in my head until actually just did it.
IMG_0172.JPG IMG_0040.JPG

I didn't pin the lapel down as I rolled and padstitched, which made the hair canvas shift a lot. I'm not sure how this will affect the lapel in the finished product but I don't feel like unpicking and redoing it especially when I have another one to do. :P
IMG_0173.JPG

Overall, I'm super excited about all the new techniques I've learned and learning. I've done most of my handstitching on my daily commute to work on the bus and have grown quite fond of handstitching in general. I'm not sure when I'll be done with my coat but up next is the back side seams, pockets, and sleeves.